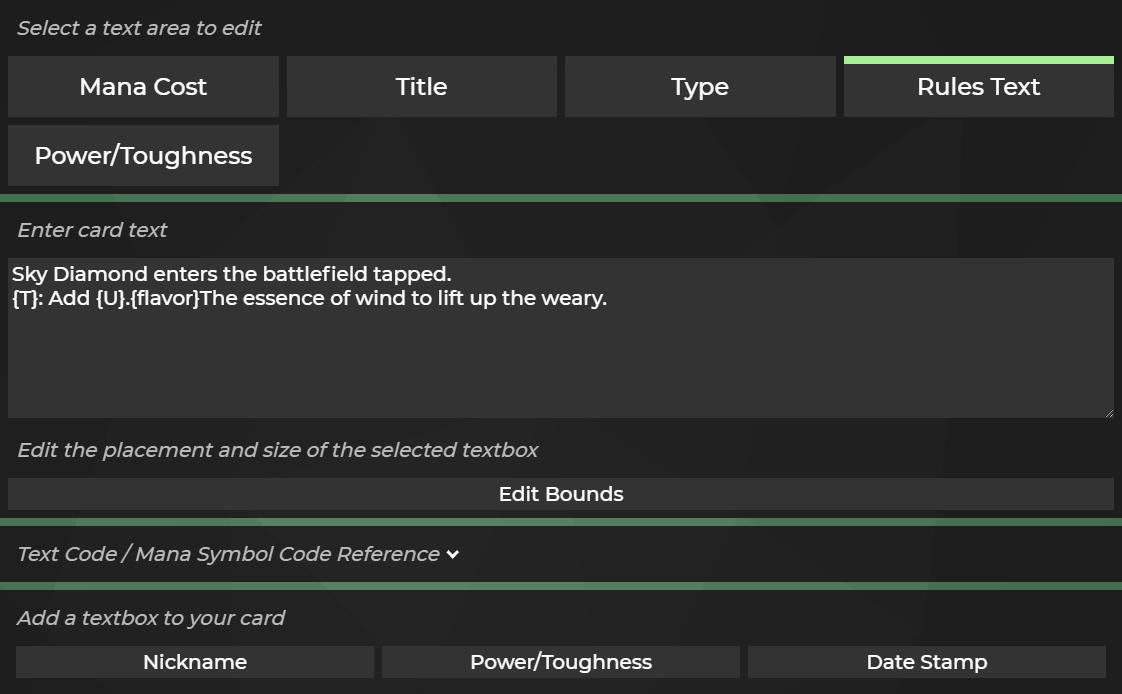
Frame Tab
Frame Groups & Frame Packs
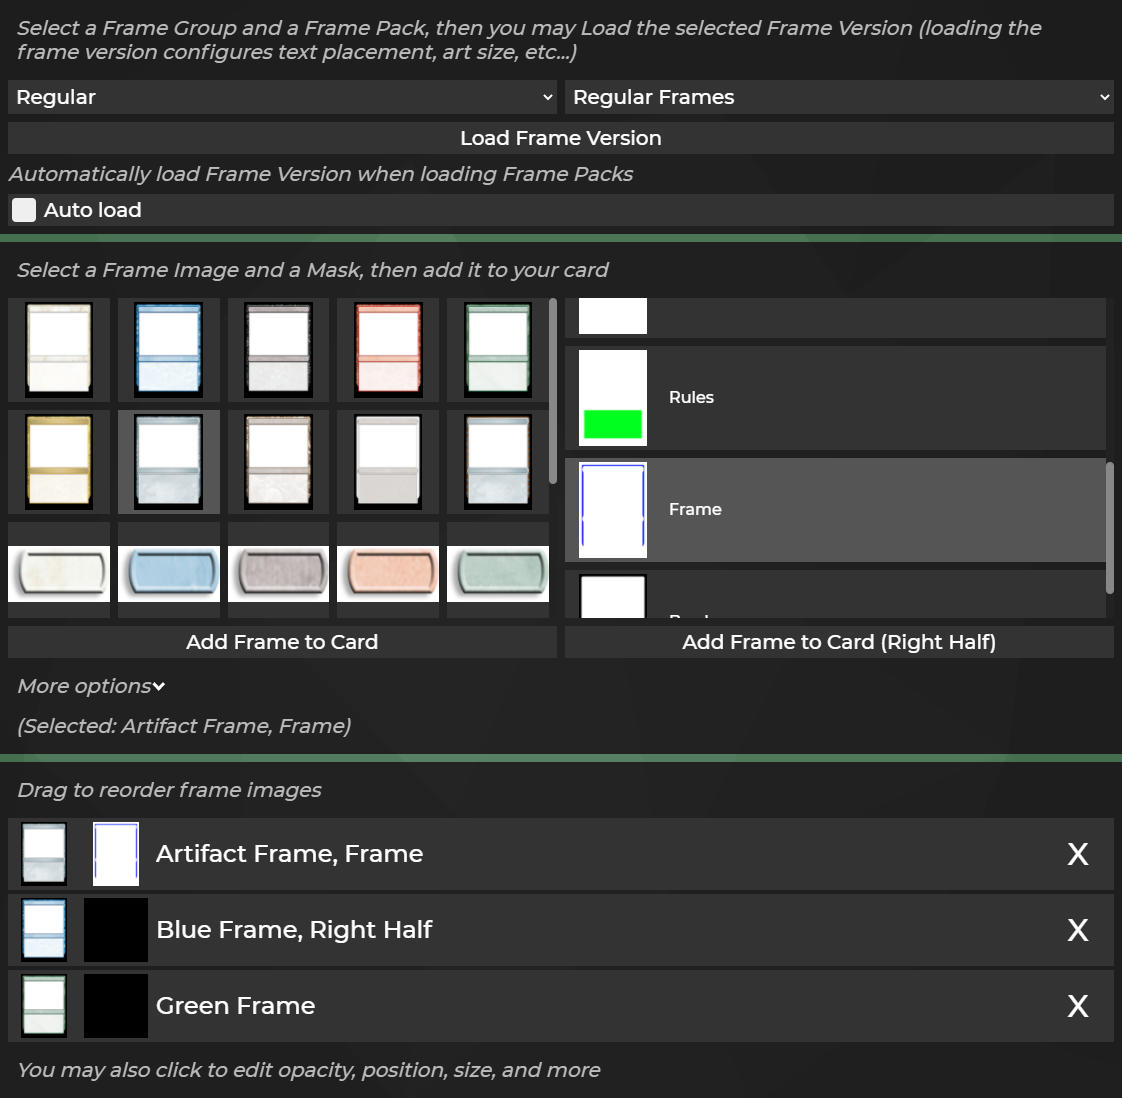
The dropdown menus are used to navigate through frame packs. Frame groups (left, currently "Regular") organize frame packs into general groups, whereas frame packs (right, currently "Regular Frames") contain the actual images and settings you'll use to create cards.
Loading Frame Versions
Clicking "Load Frame Version", or selecting a frame pack when "Auto load" is checked, will set up the layouts associated with the current frame pack. These layouts include textbox placement, art placement, etc... If you wish to use a combination of images from different frame packs, I recommend un-checking "Auto load", and using the "Load Frame Version" button.
Adding images
Once you select a frame image (left) and an image mask (right), you can click "Add Frame to Card" or "Add Frame to Card (Right Half)" to add the selected image. Image masks control which part of the image is displayed, and are useful for creating colored artifacts, multicolored cards, and much more. For more image-adding options, click on the dropdown menu "More options", which is located directly below the "Add Frame to Card" button. You can also double click images to add them, and can add them to the right/middle/left sections by holding certain keys (shift, ctrl, or alt).
Removing/Reordering Images
When you add images, they're displayed below the frame/mask selection area. You can click the X to remove images, or click and drag on them to change the order in which they're drawn. You can also click on the images to bring up the "Frame Image Editor" for more customized adjustments.